

Laulima Faculty Tutorials
Making A Resource Item Publically Viewable aka. Making a Public Folder/File
There are occasions where you may want to share an item from your My Workspace’s Resources tool. Since only you have access to the Resources tool in your My Workspace tab, you will have to make the item (folder or file) publically viewable. Note that publically viewable means available to anyone who knows the web address of the item (URL), no password is needed. This can be useful in your courses as you can house some key items in a single place whose address does not change (eg. profile image, syllabus you’d use in multiple sections, etc). Note that this is not limited to the My Workspace tab, but is applicable to any Resources’s folder/file.
Please also note that the use of Resources to publically share items should be work/school-related and fall under the terms of the University of Hawai‘i Executive Policy E2.210.
Uploading your Item to Your My Workspace’s Resources tool
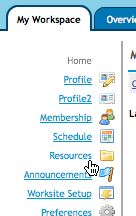
1. In your My Workspace tab, click the Resources tool.
 |
|---|
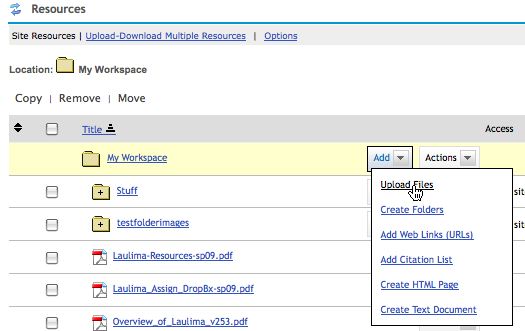
2. Next to the folder you want to add the item (in this sample, the main Resources folder), click the "Add" pop-up menu and choose "Upload Files".
 |
|---|
In this example, we are uploading a file. You can also make a folder publically available (to create a folder, choose "Create Folders" from the "Add" pop-up). By default all files within a folder share its properties (eg. if it is publically available or not), which can be modified.
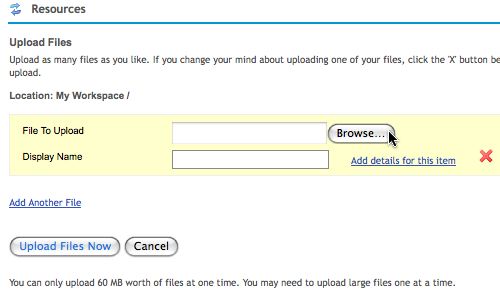
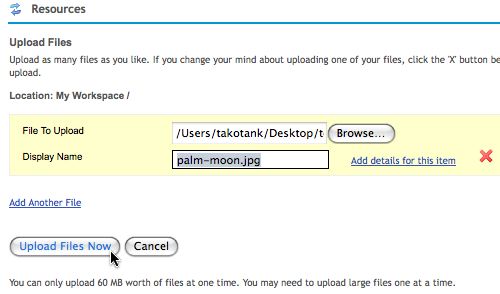
3. You will then be presented with a screen to choose a file to upload. Click the "Browse…" button.
 |
|---|
Note: You can only upload up to 60MB total at a time.
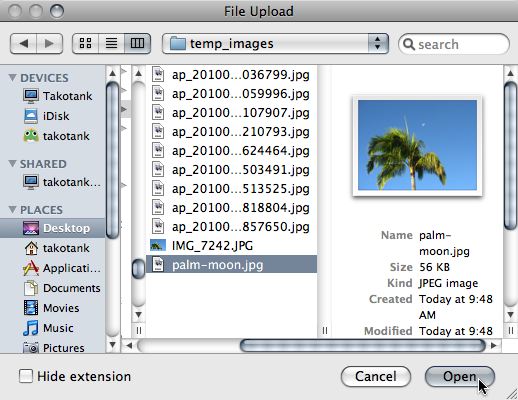
4. A window will open for you to navigate your computer to select your file. Click to OK/Open the file.
 |
5. Now that you have selected your file, click the "Upload Files Now" button to put the file in your Resources tool.
 |
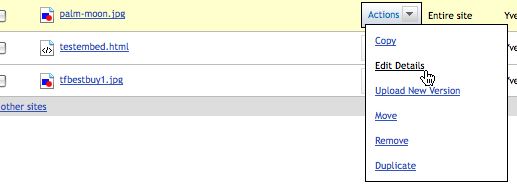
After your file is uploaded to Resources, you should see it listed in the Resources tool. Note that next to the Actions pop-up it says "Entire Site" meaning only those in this site can view it (which in My Workspace is only you). On the far right, you can also see how large the file is. Folders also have similar listings.
6. To make the file publically available, click the "Actions" pop-up menu next to the file. Choose "Edit Details".
 |
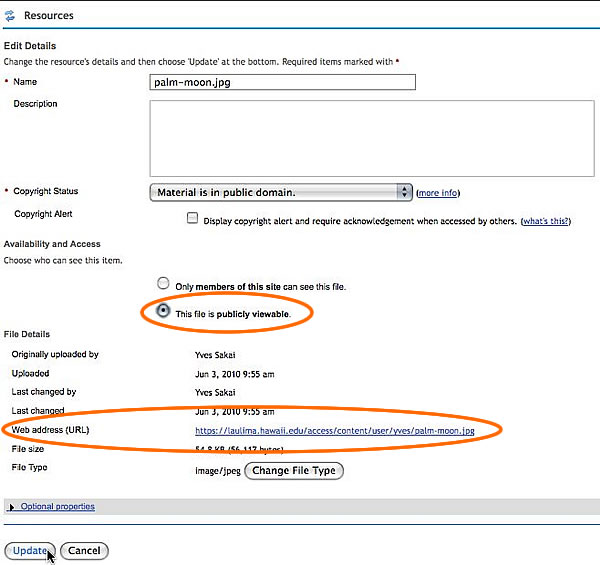
7. In the "Availability and Access" section, choose "This file is publically viewable." You should also copy the web address (URL) of this file/folder to use later. Finally, click the "Update" button.
 |
Your file will now show "Public" next to the Action pop-up.
 |
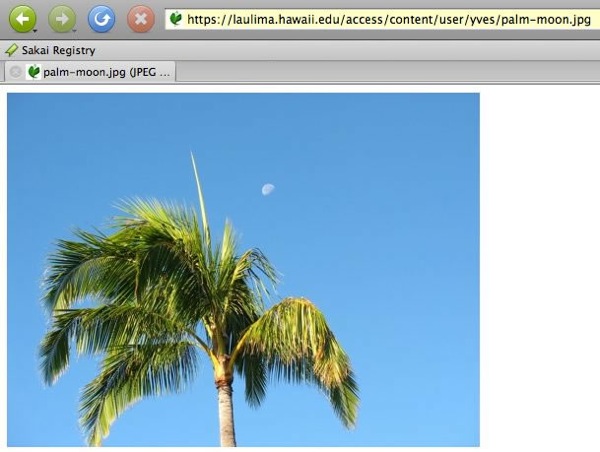
You can now use the web address (URL) you copied in the previous step (and if you didn’t, you can always access it by going back to the "Edit Details" screen) as a link in a document, email or in the case of an image embed it in a page that anyone can access.
 |
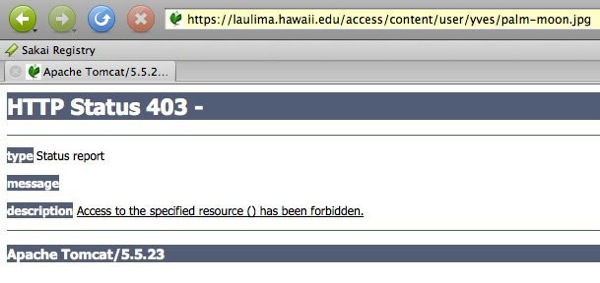
As an aside, if the file is not publically viewable the person viewing it (not you) will get an "forbidden" error when trying to access the file/folder.
 |
> Return to Laulima Faculty Tutorials
