

Laulima Faculty Tutorials
Tasks, Tests & Surveys
Quick links:Adding Tasks, Test & Surveys
Import Pools
Edit Pool Point Values
Edit/create Pool & Add Questions Create Assessment & Pull Questions
Random Draw
Publish Settings
Special Access
Grading
> Return to Laulima Faculty Tutorials
Tasks, Tests & Surveys
Tasks, Tests and Surveys can be used to create online assessments for delivery via a web interface to your students.
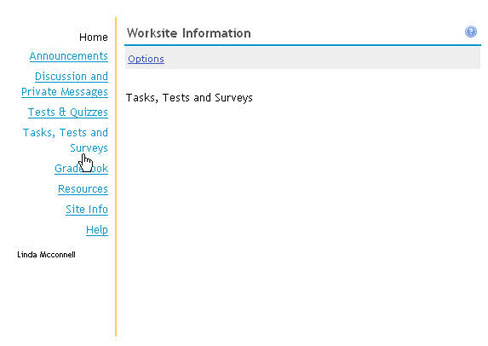
1. Log into Laulima (https://laulima.hawaii.edu), select a course you wish to import the materials to, add the tool to your course (Site Info > Edit Tools > select Tasks, Tests and Surveys > click Continue > click Finish). Enter the new assessment area by clicking on the link in the Course Menu. .
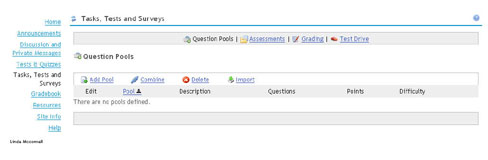
Tasks, Tests and Surveys works by first creating or importing a Pool of questions based on how many points you want to give for each question added to the pool, creating a quiz, selecting how many questions to pull from the question pool and setting it to be published or released to students.
Importing questions/pools from Tests & Quizzes:
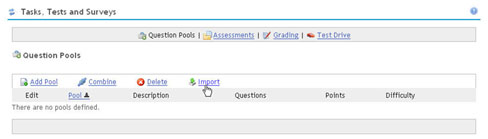
1. IF you have been using the Tests & Quizzes tool for assessment, you can "import" what you have created into Tasks, Tests and Surveys by clicking on "Import".
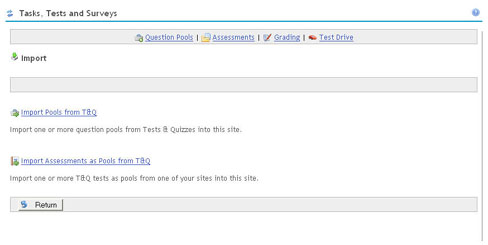
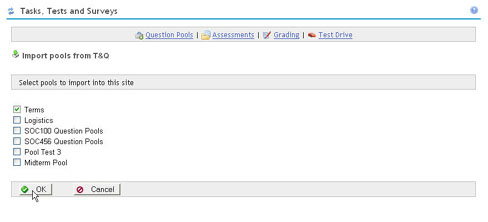
2 . Click on the text links for either "Import Pools from T&Q" (if you have questions pools created) OR "Import Assessments as Pools from T&Q".
3. In this case I am importing a question pool by selecting the checkbox(s) by what to import and click "OK".
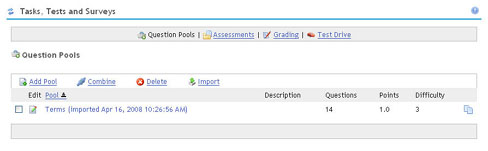
4. Once imported you should see the pool name in the Question Pools list. By default the pool was assigned a point value of 1.
This means that every question contained in the pool is worth 1 point. The only way to change the point value is to edit the pool. **Pool point value is what sets the question points, you do not have the ability to edit points based on individual questions.
Edit a Question Pool Point Value:
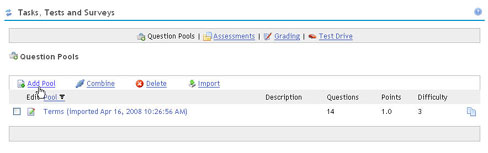
1. To increase how many points each question is worth in this pool from 1 to something else, click on the paper/pencil icon next to the pool title.

2. Type in a new point value in the "Point Value" text block and click "Done" .

Edit create a Question Pool & add Questions:
1. Click on "Add Pool" from the Question Pools area.
2. Enter a Pool Title, Description (optional), Point Value, Level (by default it is set at 3) and click "Done".

3. Add questions to the pool by clicking on "Add Question".
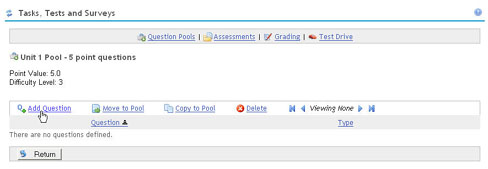
4. Select the desired question format (you can only select one at a time) from the list and click "OK".
This manual will cover 3 question formats: Multiple-Choice, Matching and Task

1. Multiple Choice:
A. Enter multiple-choice question in the Question text block.
You can use the button features at the bottom of the text area for:
- Formatting of text
- Inserting Images (images are stored within Tasks, Tests and Surveys)
- Adding symbols
- Manually typing in HTML
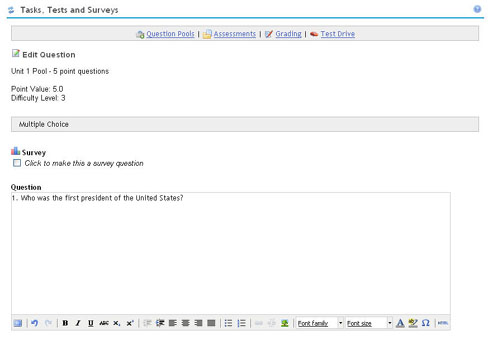
B. Select the radio button for either "Single" or "Multiple Choice" answers.
Proceed to enter all distracters and selecting which one is the correct response by clicking on the radio button for "Correct".
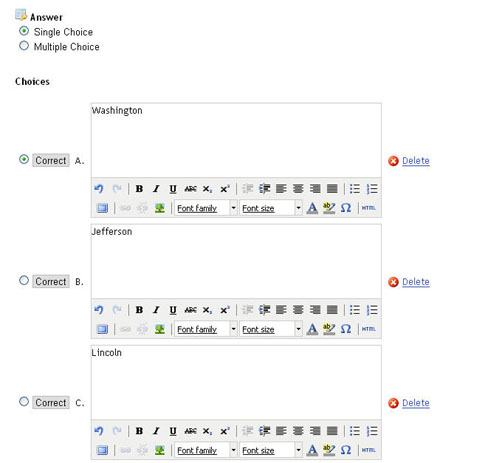
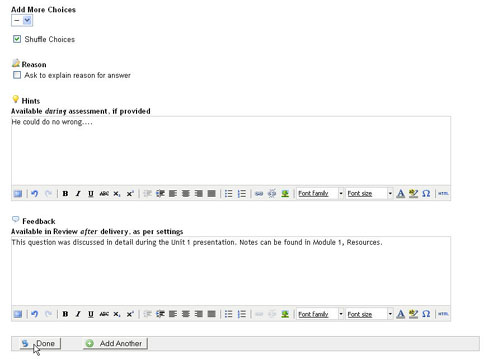
C. Select checkbox for "Shuffle Choices" only if you would like Laulima to re-organize choices every time the question is given.
Select checkbox for "Ask to explain reason for answer" only if you want students to enter their reasoning for their choice.
Enter a hint in the "Hints" text block (optional).
Enter feedback in the "Feedback" text block (optional).
Click "Done", or "Add Another" to add another question to the pool.
NOTE: For multiple choice questions with multiple correct answers, 100 percent of the points are awarded if all correct answers are chosen and no incorrect ones are selected. Points are deducted for incorrect answers down to zero, but will not go negative. Scoring is based on the total number of points for the question divided by the total number of correct choices. The penalty students will get for each incorrect choice that is checked is based on this calculation. There is no penalty if an incorrect choice is not selected.
2. Matching: Choose Matching as the next question type.
A. Enter the matching question in the question text block.
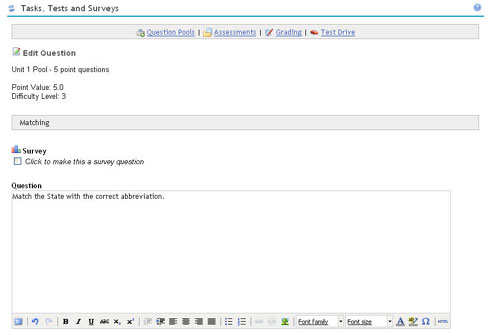
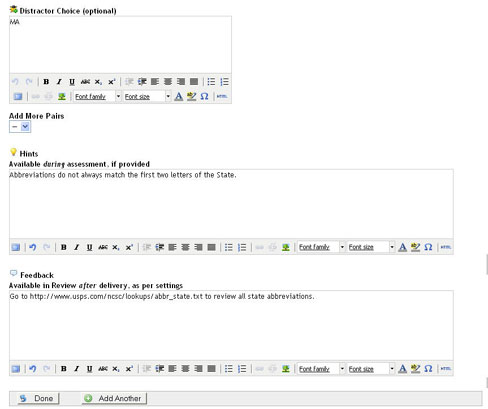
B. Proceed to add the Choices and their CORRECT matches in the Choice and Match text blocks.
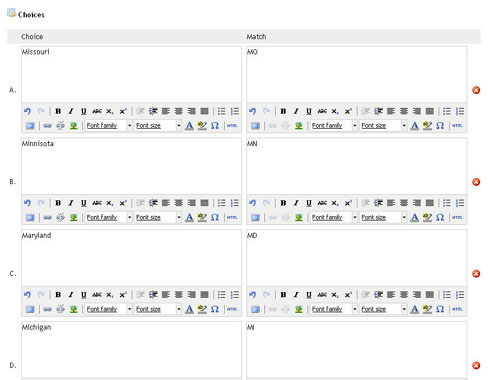
C. Enter Hints (optional), Feedback (optional) and click either "Done" or "Add Another".
3. Tasks: Select Tasks as the next question format
A. Enter the task you would like students to perform (this type of question can be used IF you are making your assessment more for an Assignment), you could use this as an Essay type question OR have them upload something to you based on some instruction.

B. Under "Submissions" select how you would like the student response given:
1. Inline only: they can only type in the text block
2. Inline or attachments: they can type and add an attachment
3. Attachment only: they can only attach something
4. No answer is expected for this question: perhaps it is a physical task of some kind in which a grade will be manually added later
Type in a "model" or "perfect" answer in the "Model answer" textblock (optional). You could use this as your grading criteria.
Type in a Hint (optional) and click "Done" or "Add Another".

C. Once you have added all the questions to the pool, click "Done".
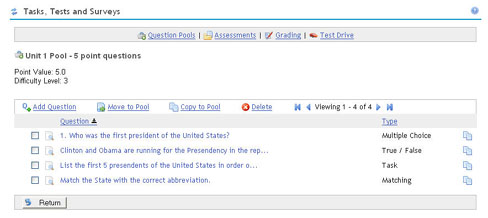
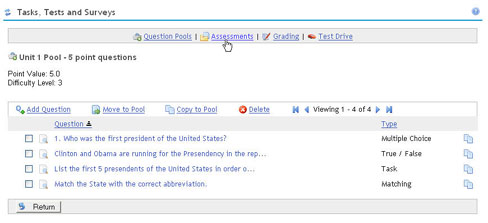
Create an Assessment (Test, Assignment or Survey) & Pull Questions from Question Pool:
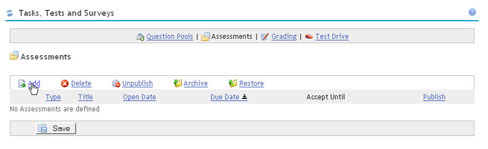
1. To add a test click on "Assessments".
2. Click "Add".
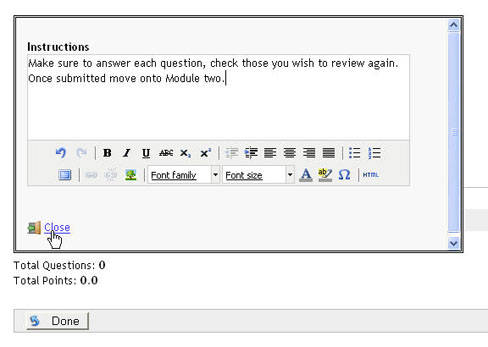
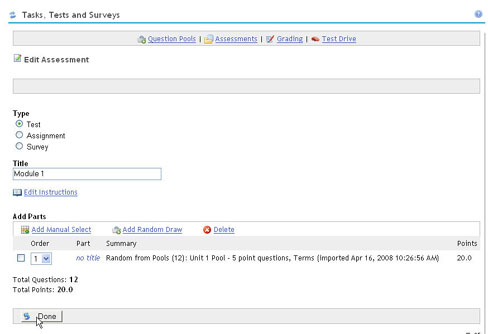
3. Enter quiz title, if desired click on "Add Instructions".
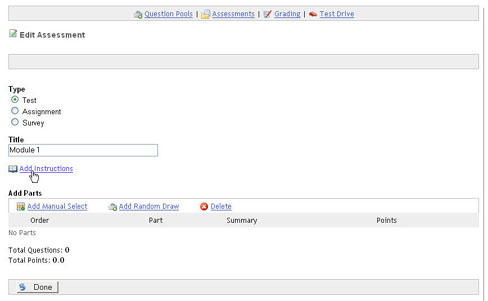
4. If you chose to add instructions type them in the text block and click "Close".
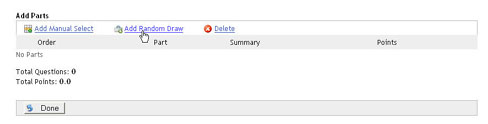
5. You can either select to "Add Manual Select" which will allow you to pick specific questions from a pool OR "Add Random Draw" to select a pool to randomly draw all questions or a specific amount of questions.
Random Draw:
6. If you choose Random Draw,
enter the number of questions you would like to draw from selected pools and click "Done". .
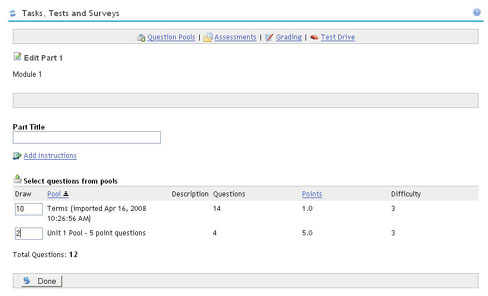
7. You can also add selected questions at this time by clicking on "Add Manual Select", select which questions you would like by clicking on the checkboxes, click done. Manually selected questions will be given to all students in the same order you placed them in within the quiz, while random draw questions will be juggled for each student.
Click "Done" again .
Publish Settings:
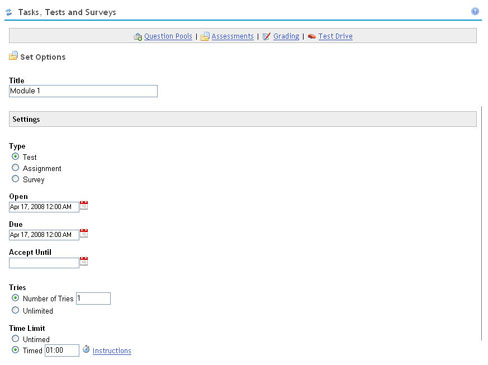
1. To set the quiz criteria for student access, click on the icon under the "Publish" column.

2. Choose the type of assessment this is to be used for
- Test: graded exam
- Assignment: graded assignment
- Survey: not graded
Use the calendar icon to select when the assessment is "open" and "due".
Select how many times a student can submit the assessment.
Choose if there will be a time limit, if so, enter the time based on a HH:MM format.
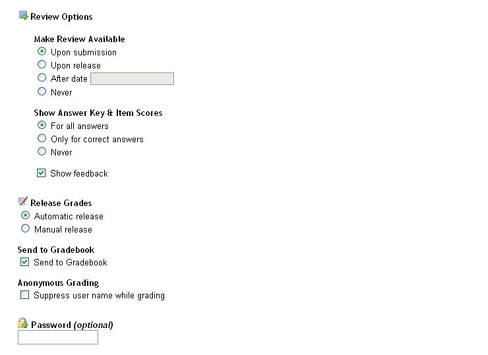
3. Select when students can review their submitted assessment:
- Upon submission: Once the assessment is submitted students can return for review
- Upon release: Once all manual grading is done and you have selected to "Release" the assessment, students can review
- After date: Only after the date entered students can review
- Never: Students cannot review at all
Select what students will see in their review
Select either Auto or Manual release for grades: Manual release would be used for assessments that have essay, short answer or submission type questions.
IF you have added the Grade book tool to the course, you have the option to send the score to the grade book.
4. Honor Pledge: if selected students will have to agree to it prior to beginning assessment
Hints: choose if you want the "Hints" you added to be viewable by students in the assessment
Navigation:
- Flexible: Students can go back and forth through assessment questions based on Layout choice **if a student skips a question they will be warned about any skipped questions when they select "Finish"
- Strict: Students can only go forward, one question at a time **if a student skips a question they will NOT receive a warning about a missing answer when they select "Finish"
Layout: ONLY for "Flexible" navigation, choose how you would like questions presented to students
Type in a final message (optional)
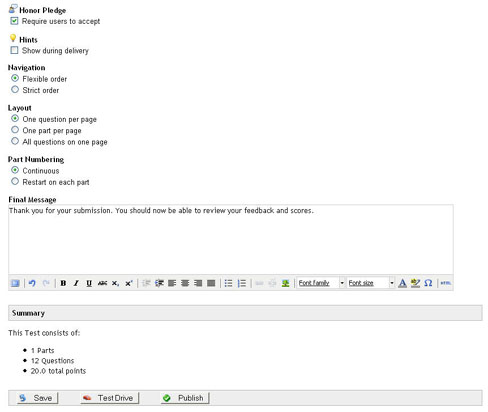
Click "Publish" when done.
Note: a test retains the state of the questions (in the question pool) at the time the test is published, so subsequent changes made to the questions will not be reflected in the test unless a new assessment is created. As a result, you may want to click "Save" then Test Drive the test (see section below) before publishing it.

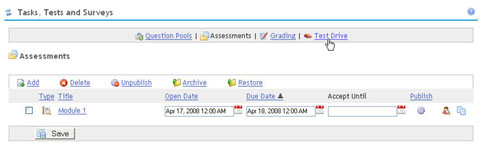
Test Drive:
After the Publish settings have been saved, select to "Test Drive" the assessment. Test drive gives you the same experience a student would have when taking the quiz. This is a great way to preview your assessment before publishing.
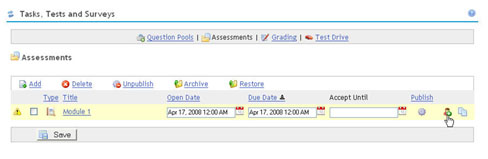
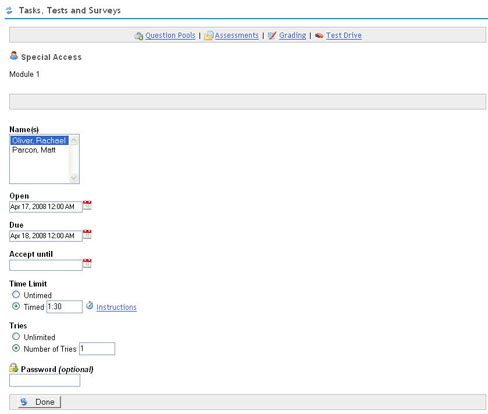
Special Access:
1. You can choose to give special access for a quiz to a student or group of students based on a different date/time, time limit, etc than what other members of the course will have by clicking on the "Special Access" icon.
2. Click "Add".
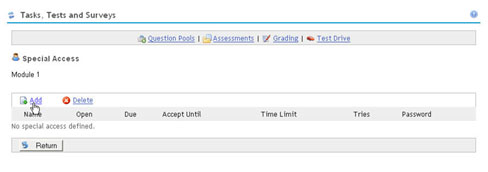
3. Select a student (only 1 can be selected at one time) enter a new open/due dates, time limit, tries and click "Done".
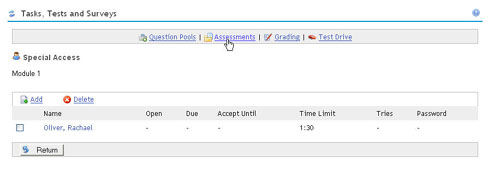
At this time you can select "Add" to add another student till all students that need special access have been accounted for OR click on "Assessments" to return to the assessment list.
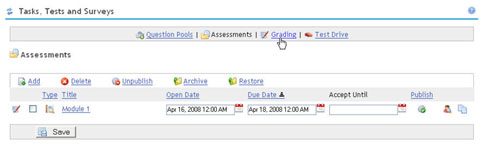
Grading:
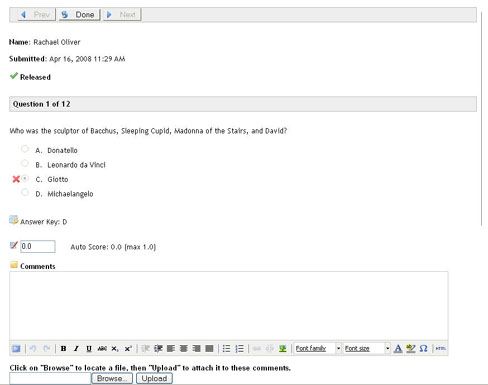
1. To either manually grade or view students submissions click on "Grading".
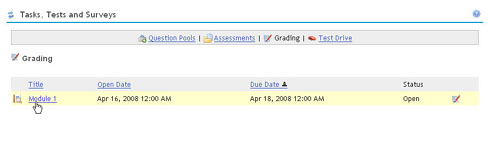
2. Click on the assessment you would like to review.
3. Click on a student name.

4. Scroll down through quiz, entering a score in the score boxes (you can also over ride a score) and add comments in the "Comments" text blocks (optional).
5. Once you have finished either manually grading, over riding scores or entering comments click "Done"..
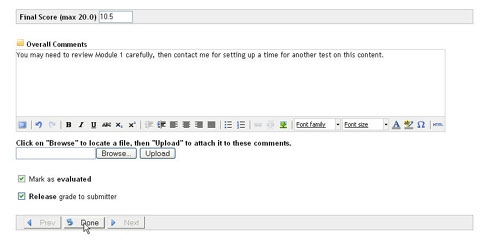
6. For students to view comments and review added scores click on either "Release evaluated submissions" OR "Release all submissions".

